erin lee creative has been sponsoring a Halloween Challenge for ohmycrafts this week... Just 50 minutes before the contest ended, I was frantically cropping, editing, and uploading my photos from the projects I was working on today!! I am sooooo glad I made it in time!! :) I spent a glorious day with my BFF, Christi, creating this fun little jar just for the occasion...
 I started with a clean, dry jar... (yes, it's a spaghetti sauce jar... Ragu... The Girl-Child and I used it for our homemade vegetable soup since I forgot to buy tomatoes... The soup turned out perfectly... And since I recently vowed to find a way to use every jar and can we would otherwise throw in the dumpster, it has found a happy home filled with deliciously sweet candy corn... But I digress...).
 Oh... Does anyone want to guess how many candy corn pieces are in that jar now???
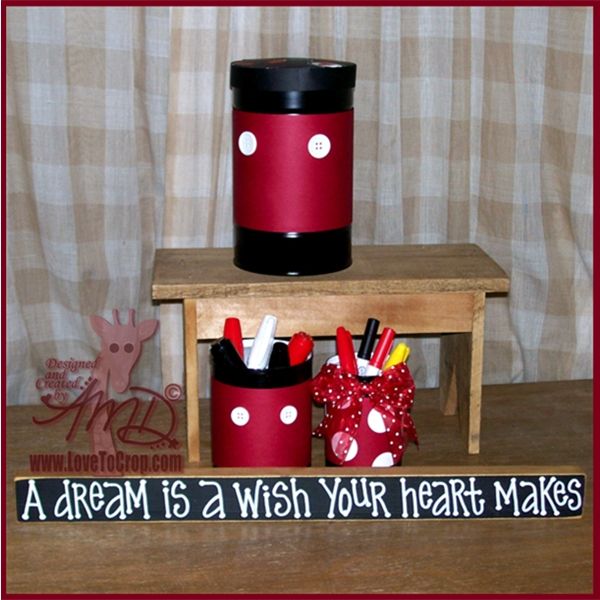
I added a 3.5" strip of black around the center of the jar and topped that with a 3.25" strip of (what else!?!) candy corn paper (from Creative Memories Primary Halloween Additions Kit). The letters were cut from orange and green paper using the basic font on the 'Cheerful Seasons' Cricut Cartridge (shadowed in black). With the letters squeezed onto a yellow rectangle (2"x3.25"), I triple mounted the yellow onto orange, green, and black. The lid was covered with black vinyl so that I could add the ruffled paper 'ribbon' (made from 2 9" strips of 3/4" paper crinkled and folded). To keep the ruffle in place, I adhered the yellow strip on top. The final touch is a set of hand-cut candy corn attached with some black twine.
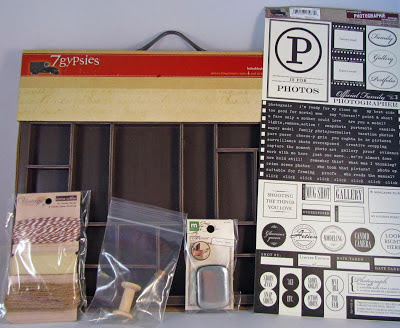
As it turned out, the project didn't start out so smoothly... When I cut the letters out the first time, I cut them WAY too big!! But ya know... I couldn't just let those letters go to waste (especially since my project was inspired by my desire to 'recycle' the spaghetti sauce jar used for the candy corn!!)... So I used the letters to create this 12x12 layout.

The photo mat on the left is sized for a 4"x6" photo that will easily slide under the paper 'ribbon'. The photo mat on the right will accommodate a 3.5"x3.5" photo or can be used for journaling.
Of course, what treat could be sweeter than my adorable nephew dressed up this Halloween? (hint, hint... hey, sis-in-law... you know who I mean!!!)
Overall, this project (turned into TWO projects) was LOTS of FUN to create!! Thanks erin lee creative for encouraging me today!! :)
Thanks so much for stopping by to check out what I've been working on... I'd love to hear from you, so please leave a comment. And remember to stop by again...