It's Tuesday!! You know what THAT means, don't ya??? It's TIME to Celebrate The Occasion!! This week the theme is "Retirement"... However you would like to celebrate a retirement, we want to see your creativity!! Whether you create a card, layout or project, be sure to post your creation by Sunday, May 29th at 11:59pm (EST)!! To see the rest of what my incredible Design Team Sisters created for inspiration, please CLICK HERE and visit CTO... I can't wait to see what YOU create too!! :)
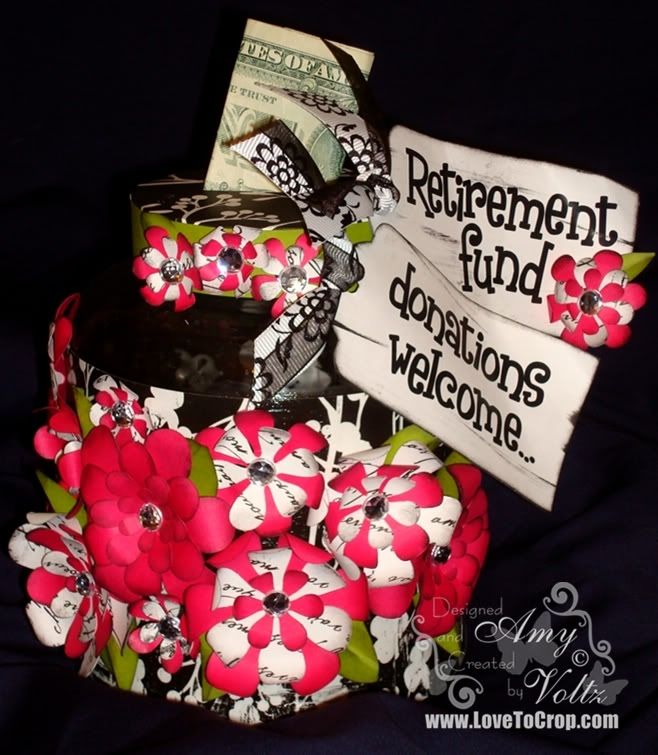
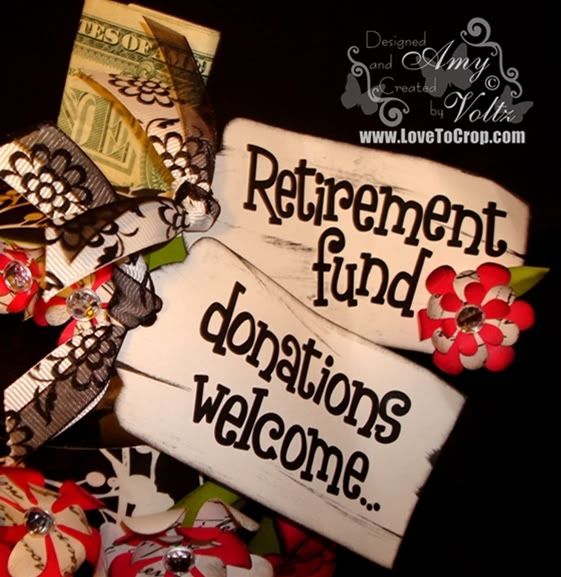
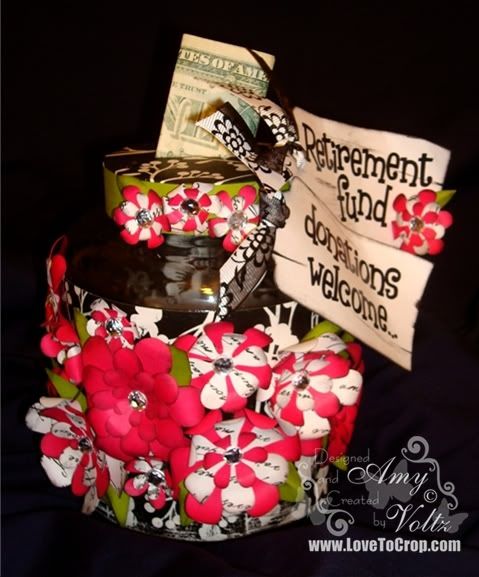
For my project, I decided to do a little recycling and reusing to create this fun and functional bank!! I thought it would make the PERFECT addition for a Retirement Party too -- Especially with a little tag reminding guests to donate (that's also why I'm also featuring it over at Decorate To Celebrate -- a challenge blog all about Party Decorations and Supplies!!). :) The-Girl-Child likes her pickles in BULK, so this jar is rather large, but I liked the smaller opening (made it tough to pull the pickles out easily, but it's perfect reconditioned as a bank!!).
I started by removing all of the labels with Goo Gone. The factory info and expiration date were ink stamped onto the jar, but a touch of nail polish remover erased all residue and left the jar as good as new. :) I cut two strips of 4x8 decorative cardstock and used Modge Podge to adhere the strips to the jar. I've reused jars like this in the past (click here to see the Halloween jar I made last year) and I've found that adhering the paper strip with Modge Podge creates a much better base for adding embellishments -- plus the wrapping doesn't pop off -- which is extremely inconvenient if you're using it as a gift and it does this IN the gift bag just before the recipient pulls a plain jar out... How embarrassing! :)
The pickle jar lid REALLY smelled like pickles so I wasn't too keen on using it for this project... Besides, I really wanted to put a slit in the top for the money 'donations' so a solid jar lid just wasn't gonna work for me!! So I created a paper lid... I could bore you with the details of how I made my paper lid or I could just move on to the next step... Of course, if you'd like to know how to create a paper lid, please do not hesitate to ask!! I make a lot of these lids (as most jar lids do tend to smell like whatever was in the jar no matter what AND these paper lids really come in handy for all sorts of tasks!!)...
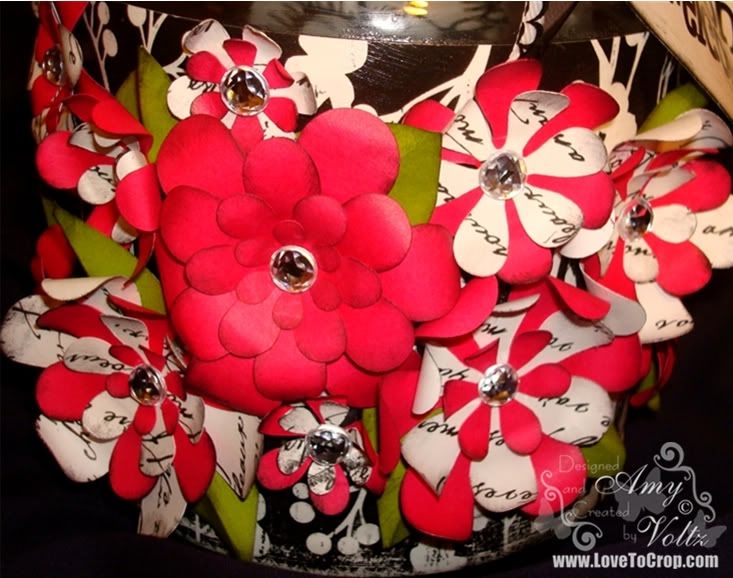
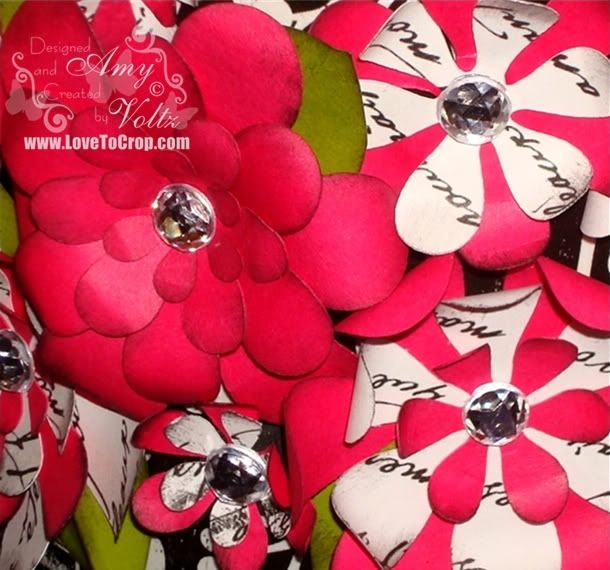
My flowers were cut using the Accent Essentials Cricut Cartridge (remember that one you got with your Expression???). I cut a series of flowers ranging in size from 3/4" to 2 1/4" (at 1/4" increments), inked the edges, curled the edges with my bone folder, and layered them for different effects... Keep in mind that every flower is exactly the same, just cut in another size/color and curled out or under depending on the look I was going for... If you haven't tried creating any of these layered flowers yet, I hope you'll try some... I often cut lots of extras so that I have quick and easy embellishments on hand to add to a card or tag. :)
My tags were distressed with ink and curled with my bone folder... The letters are stickers -- I collected a stack of alphabet stickers before I got my Cricut... Now my stack of alphabet stickers has been collecting dust!! So I'm on a mission to use my stickers whenever I have the chance :)
As always, your comments and questions are welcomed and appreciated... I'd love for you to join this week's challenge at Celebrate The Occasion... So hop on over there and enter YOUR project (plus you get a chance to win an AWESOME Cricut Cartridge!!).
Thanks so much for joining me today...
Here for a Hop or GIVEAWAY??? Use these QUICK LINKS to find the right spot fast!! :)
Subscribe via email
Subscribe to:
Post Comments (Atom)




























22 comments:
So funny and very cute. Love all those flowers, great thinking :)
Love the idea, super cute and very creative!TFS!
Sherrie K
http://sherriescraps.blogspot.com
Wow Amy !!! You did a super job those flowers are incredible Thanks for sharing.
http:/dianamlarson.blogspot.com
Amy, how funny is this. Retirement donations. It goes perfect with what I said in my blog. This donation jar is just amazing. I love the colors etc.
What an awesome project, love it! Those flowers are beautiful, Great job!
You go girl, YOU ROCKED this challenge!! Who would have thought a pickle jar..lol. I am right there with ya on the stickers...mine are packed away... Love your project!
wow how beautiful and what a fun retirement gift this would be. just love it. hugs
Sooo Cute! What a fun idea!
Kimberly
My Craft Spot
Adorable! You always come up with such great ideas.
THis is so cute and funny! Great job!
This project is so cute... all of it...
the colors, the idea.. waooo Amy..
tfs...
Ivette
wowo that is too cute..love it.. nice idea...man i need to start crafting and using my cricut!
Kathy
GCDT
That is too stinkin cute! I have to hurry and make one in preparation for my retirement! Great creativity!
Your Wild & Wonderful Friend!
This is just too cute! Love all the flowers!
Great Job....
Nicole T.
Thanks for the "heads up" this morning I would have missed the post if you hadn't told me about it. Love your bank. Don't know if I like all the pretty flowers or the "donations welcome" the best.
I don't remember if I've told you or not but I love the new look for your blog.
This is so clever! I love this project, and you did a fantastic job on it! I need one of these jars to sit at my desk at work LOL!
Hi again,
I love your "donation" to retirement box. I like this challenge and want to participate. I am just trying to think of a great idea for it. I will try to participate by the deadline at CTO. Your work is great....already a follower.
Jessica
Love it! Super cute and how fun!
All I can say is WOW! Amy, you are so creative! There are so many details that I don't even know where to start! I love it! Great job this week and I love your new blog design! SO cute!
This is just soooo fun and creative! Thanks for sharing!
Lisa
http://prettypaperprettyribbons.blogspot.com
Cute idea! Love the flowers. Judy
Post a Comment